Overview
In this post we look at setting up an instance of the CHT server that is initially online so it can be configured, but ultimately is deployed fully offline. We’ll be using the information from the newly published Offline CHT Server guide in the CHT docs as well as the existing guide on how to deploy a self-hosted CHT server.
Our environment has the following setup:
- A router with the IP
192.168.8.1 - A WiFi access point (AP) (using the one in the router)
- A CHT server running on Ubuntu 20.04 with a static IP of
192.168.8.2 - A Pi-hole server with DNS and DHCP services
- An Android device running Android 10
- An unbranded install of medic-android 0.8.0
Unless otherwise specified, all commands are run on the Ubuntu server as the root user. All commands should be run from the same location of /root. You will end up with a folder that looks like this*:
/root
   /cht-docker-compose-local-host.yml
   /etc-dnsmasq.d
   /etc-pihole
   /etc-lighttpd
   /medic-srv
   /pi-hole-docker-compose.yml
   /tls-certs
* There will be other folders like Documents and Pictures as this is a Desktop install. These can be ignored.
As a reminder, by default, containers do not store your files across reboots:
Docker containers are stateless by design. In order to persist your data when a container restarts you need to specify the volumes that the container can use to store data.
Reverts
If at any point you get stuck and want to start from scratch you can run these three commands. They will delete all containers, volumes and data directories:
docker-compose -f pi-hole-docker-compose.yml down -vdocker-compose -f cht-docker-compose-local-host.yml down -vrm -rf pi-hole-docker-compose.yml cht-docker-compose-local-host.yml etc-pihole etc-dnsmasq.d tls-certs etc-lighttpd /etc/systemd/system/*-docker.servicesystemctl daemon-reload
Development
This forum post is for development only. It is not meant for a production environment. Please see the note at the top of the Offline Hosting document for more information.
LAN & Server
-
Given our bare metal server is using upstream DNS and not the Pi-hole, add two entries in the
/etc/hostsfile to ease testing:192.168.8.2 dns.my.local-ip.co 192.168.8.2 cht.my.local-ip.co -
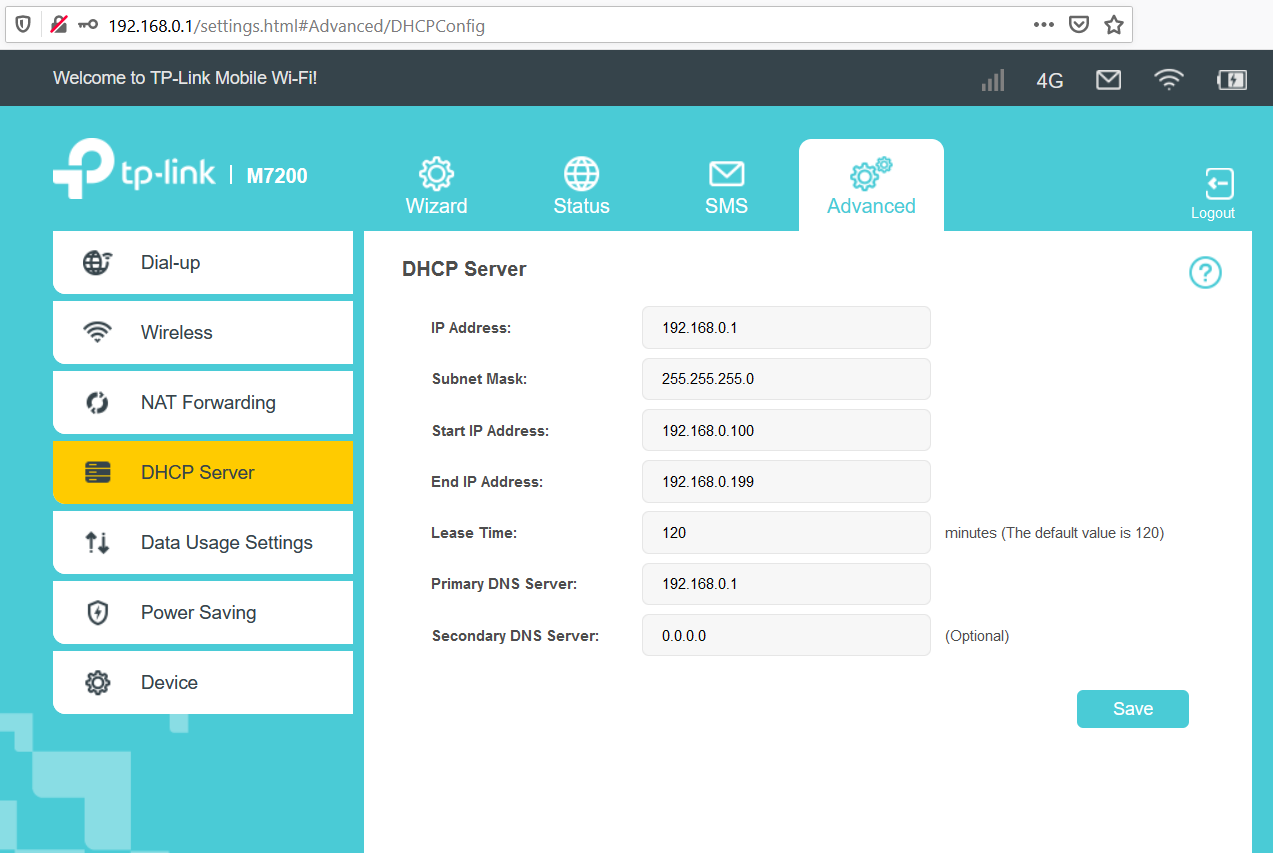
Set up a router that has DHCP turned off
-
Set up an AP
-
Install Ubuntu on bare metal. I chose Ubuntu desktop (vs server), so the server itself had a GUI I could use to configure settings.
-
Assign static IP, I used
192.168.8.2by using the desktop GUI. -
Install docker and docker compose on the server
-
Ensure port 53 is free on the server so that the DNS server can bind to it below
Prepare TLS certificates
In this example we’re using the free certificates offered on local-ip.co. We’ll store them in ./tls-certs and share this between all the containers. For your deployment it is assumed you will provide your own certificates, but local-ip’s are free to test with.
-
Create a local directory and
cdinto it:mkdir tls-certs cd tls-certs -
Copy down the certificates and private key with
curl:curl -s -o server.pem http://local-ip.co/cert/server.pem curl -s -o chain.pem http://local-ip.co/cert/chain.pem curl -s -o server.key http://local-ip.co/cert/server.key -
preparing them for use by concatenating them as needed::
cat server.key server.pem > lighttpd.key.and.pem.pem cat server.pem chain.pem > server.chained.pem -
THe final result should look like this:
./tls-certs/
  chain.pem
  lighttpd.key.and.pem.pem
  server.chained.pem
  server.key
  server.pem
DNS & DHCP
To set up the Pi-hole with a certificate that persists, we’ll use a file based off the example docker compose one for Pi-hole, create a mount point for both the TLS certificates and the configuration. This is in addition to the two default mounts.
-
Create a new directory
./etc-lighttpd -
Edit a new file
./etc-lighttpd/external.confand add this content:$HTTP["host"] == "dns.my.local-ip.co" { # Ensure the Pi-hole Block Page knows that this is not a blocked domain setenv.add-environment = ("fqdn" => "true") # Enable the SSL engine with a LE cert, only for this specific host $SERVER["socket"] == ":8443" { ssl.engine = "enable" ssl.pemfile = "/etc/tls-certs/lighttpd.key.and.pem.pem" ssl.ca-file = "/etc/tls-certs/chain.pem" ssl.honor-cipher-order = "enable" ssl.cipher-list = "EECDH+AESGCM:EDH+AESGCM:AES256+EECDH:AES256+EDH" ssl.use-sslv2 = "disable" ssl.use-sslv3 = "disable" } # Redirect HTTP to HTTPS $HTTP["scheme"] == "http" { $HTTP["host"] =~ ".*" { url.redirect = (".*" => "https://dns.my.local-ip.co:8443") } } } -
In the root directory, create a file called
pi-hole-docker-compose.ymlwith this contents:version: "3" services: pihole: container_name: pihole image: pihole/pihole:latest network_mode: "host" restart: unless-stopped environment: TZ: 'America/Chicago' # WEBPASSWORD: 'YOUR PASSWORD HERE' WEB_PORT: 8081 volumes: - './etc-pihole/:/etc/pihole/' - './etc-dnsmasq.d/:/etc/dnsmasq.d/' - './tls-certs/:/etc/tls-certs/' - './etc-lighttpd/external.conf:/etc/lighttpd/external.conf' cap_add: - NET_ADMIN -
Uncomment and set
WEBPASSWORDto be a good password -
Start the Pi-hole container:
docker-compose -f pi-hole-docker-compose.yml up --detach. Pi-hole should be accessible on https://dns.my.local-ip.co:8443/admin including a valid certificate. -
Login in to Pi-hole the using
WEBPASSWORDyou set above. -
On the left most menu, go to “Settings” → “DHCP” and turn on DHCP, ensuring “range” and “router” are set to be correct for your LAN. It was 192.168.8.201 - 192.168.8.251 and 192.168.8.1 in my case. Click “Save” on the bottom right.
-
On the left most menu, go to “Settings” → “DNS” → “Interface listening behavior” and set it to “Listen on all interfaces, permit all origins”. Click “Save” on the bottom right.
-
On the left most menu, go to “Local DNS” → “DNS Records” and add two entries for your CHT instance and Pi-hole instance. These need to match matches the CN in your certificate.
cht.my.local-ip.co 192.168.8.2 dns.my.local-ip.co 192.168.8.2 -
On the left most menu, go to “Disable” and choose “Indefinitely” so there is no DNS filtering
CHT Server
Following the CHT self-hosted guide and the official docker-compose file, this section provisions a docker container and then configures it to preserve your data across reboots:
-
Create a file called
cht-docker-compose-local-host.ymlwith this contents:version: '3.7' services: medic-os: container_name: medic-os image: medicmobile/medic-os:cht-3.9.0-rc.2 working_dir: /srv restart: unless-stopped network_mode: host volumes: - medic-data:/srv - './tls-certs/:/etc/tls-certs/' depends_on: - haproxy environment: - DOCKER_NETWORK_NAME=localhost - DOCKER_COUCHDB_ADMIN_PASSWORD=$DOCKER_COUCHDB_ADMIN_PASSWORD haproxy: container_name: haproxy image: medicmobile/haproxy:rc-1.17 restart: unless-stopped network_mode: host volumes: - medic-data:/srv - './tls-certs/:/etc/tls-certs/' environment: - COUCHDB_HOST=localhost - HA_PASSWORD=$DOCKER_COUCHDB_ADMIN_PASSWORD volumes: medic-data: name: medic-data -
Export the
DOCKER_COUCHDB_ADMIN_PASSWORDper the instructions -
Start the CHT docker instance:
docker-compose -f cht-docker-compose-local-host.yml up --detach.
nginx
CHT uses nginx as its front end web server. These steps follow the CHT Self-hosting guide to install our valid certificate and fix an nginx configuration based on our host networking mode:
-
Enter the
medic-oscontainer withdocker exec -it medic-os /bin/bash -
Edit the
/srv/settings/medic-core/nginx/nginx.conffile and change the two certificate lines to look like this:ssl_certificate /etc/tls-certs/server.chained.pem; ssl_certificate_key /etc/tls-certs/server.key; -
While still in
nginx.conf, change thisserverline from:upstream couchdb { server haproxy:5984; }to:
upstream couchdb { server localhost:5984; } -
Restart the web server with
/boot/svc-restart medic-core nginx -
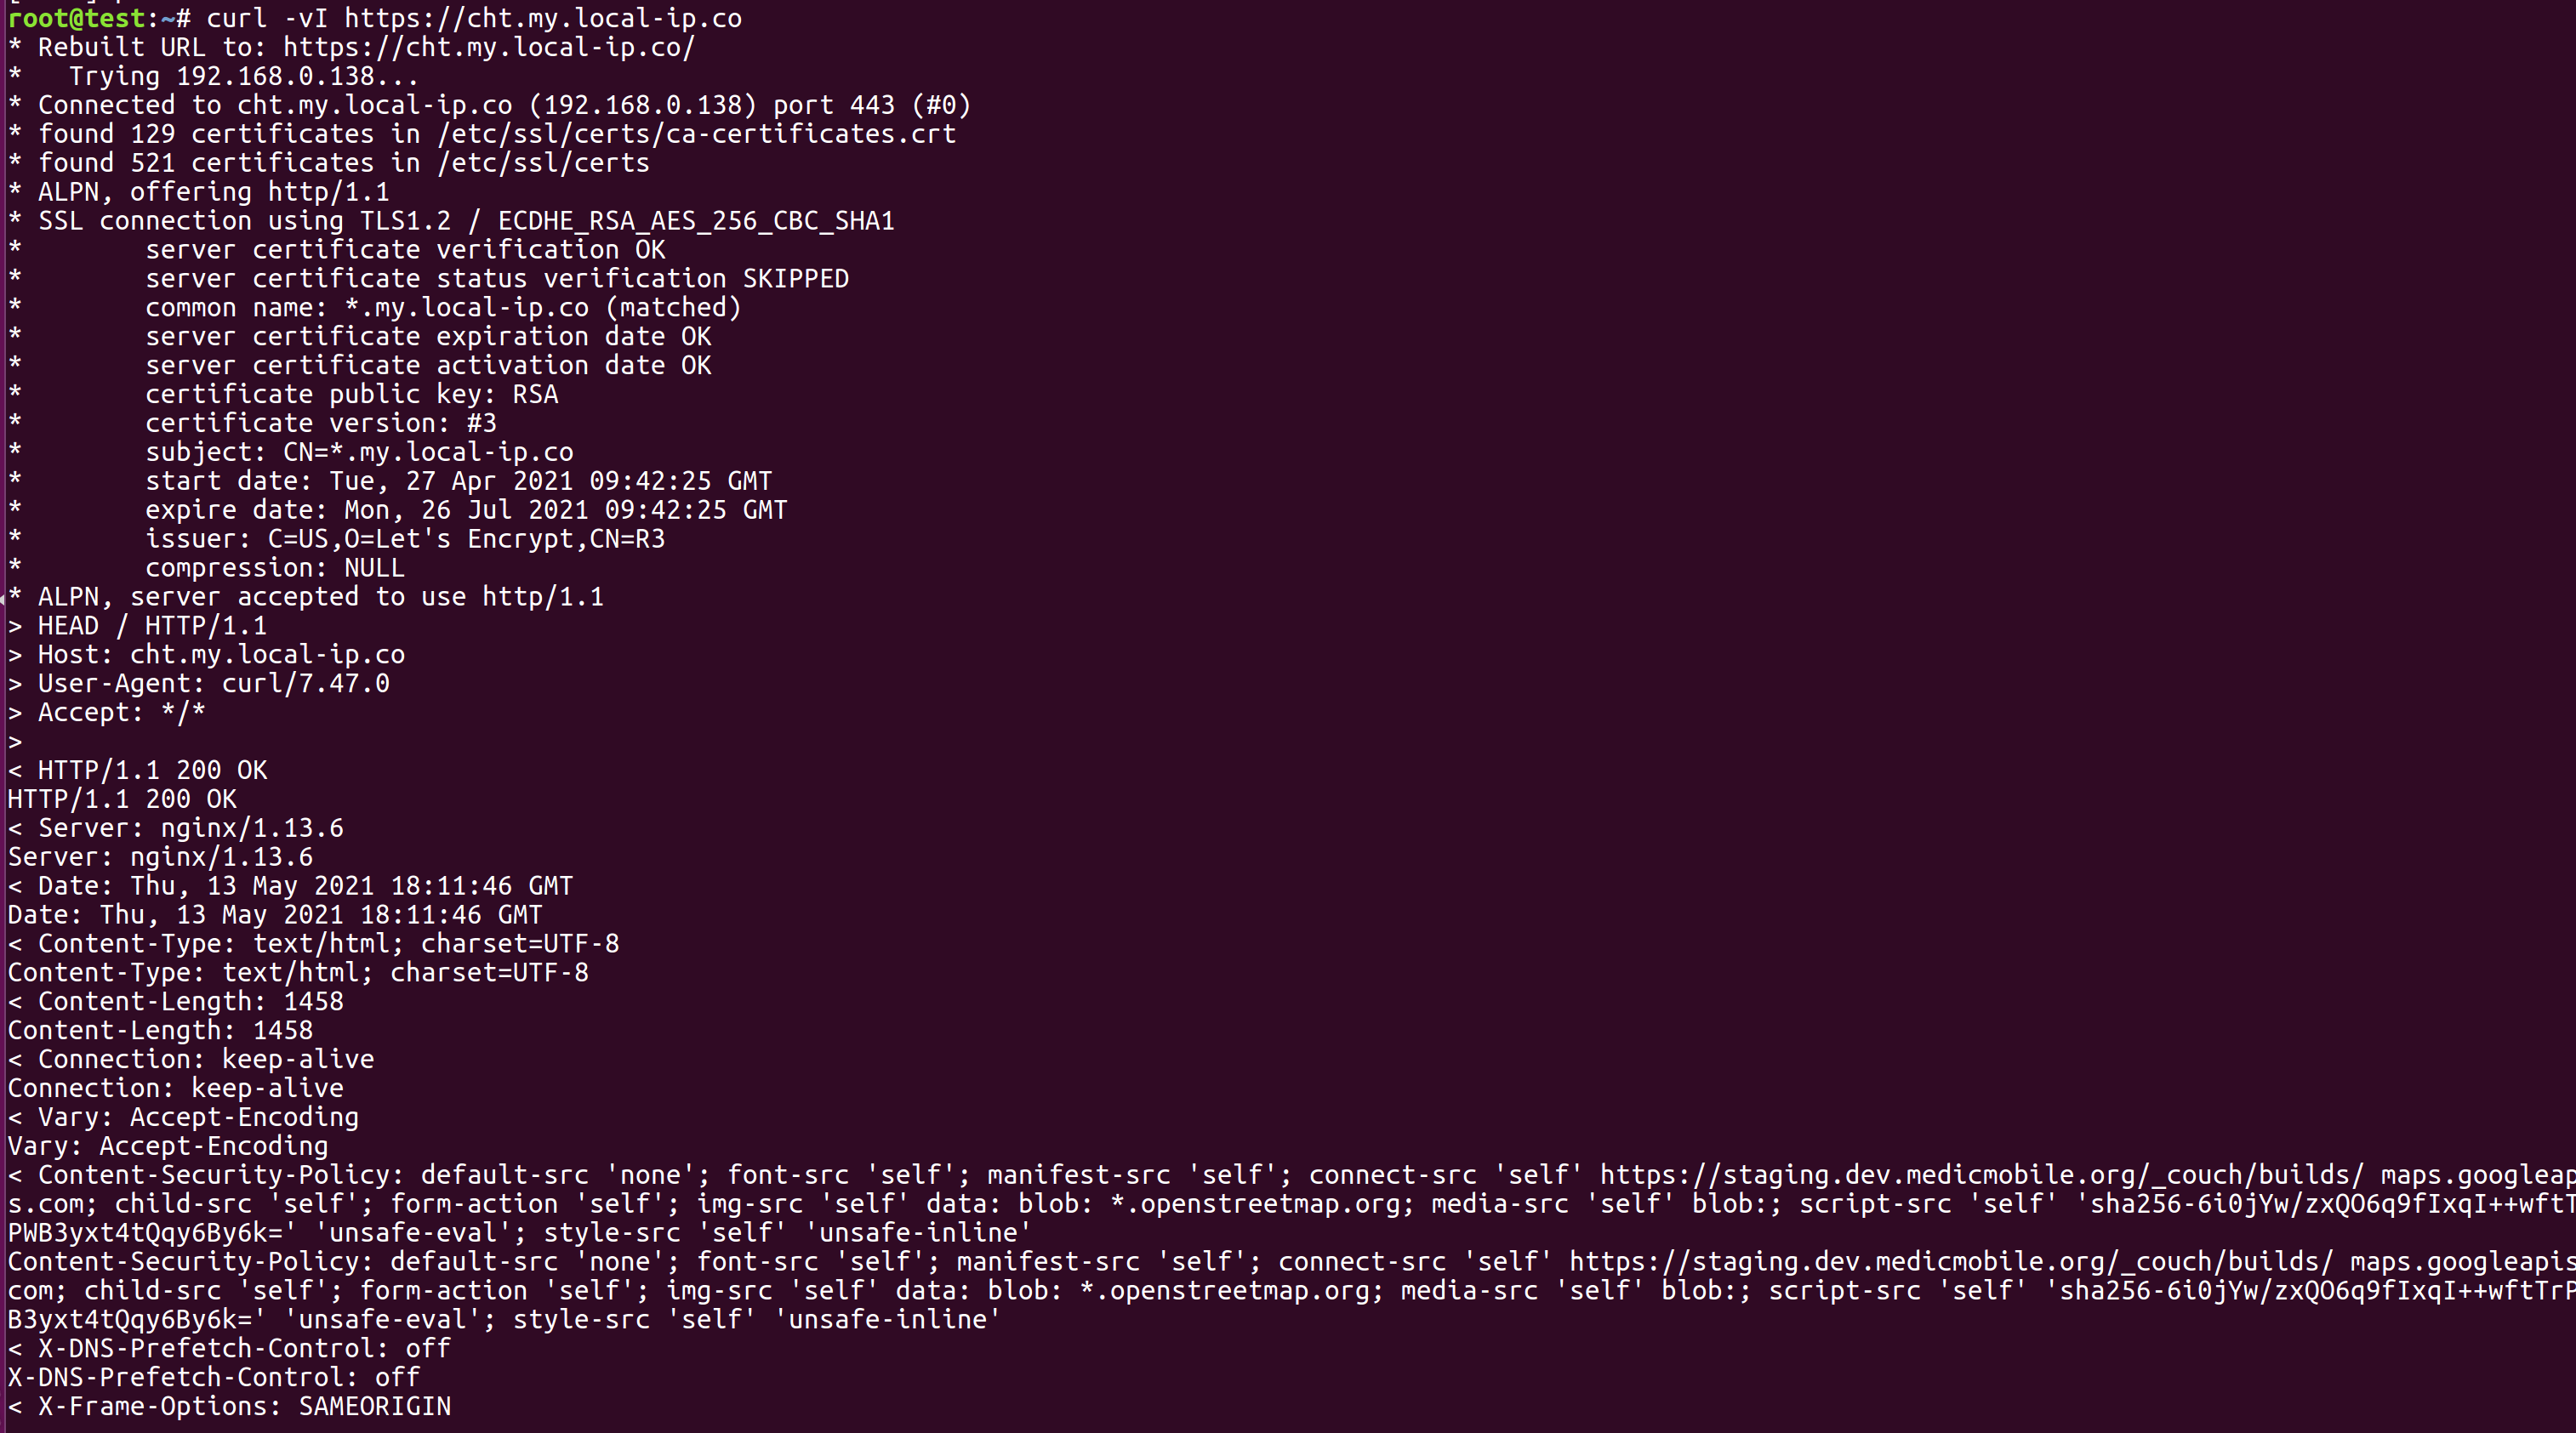
check that you have a valid certificate on https://cht.my.local-ip.co
Upgrade
CHT’s docker image has the version of CHT that was current at the time it was made (3.9.0). To upgrade the latest version:
-
Log into your CHT instance with user
medicand theDOCKER_COUCHDB_ADMIN_PASSWORDpassword you set above -
In the upper right hamburger menu, choose “App Management”
-
On the left choose “Upgrades”
-
Find the latest stable version under “Releases”,
3.10.3at the time of this forum post and click “Install”. This process may take a few minutes. -
When it is done upgrading, click “Reload application”
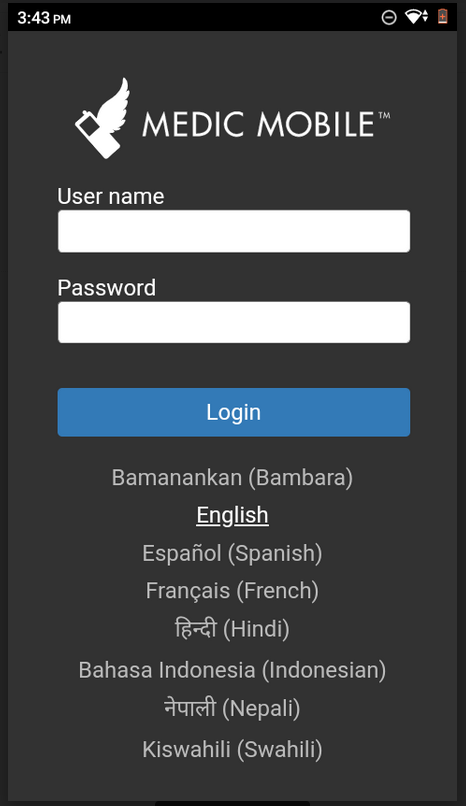
Install CHT Android application
Now that your CHT server instance is up, you can prepare your Android device by installing the Medic Mobile app. Note that we won’t configure it, as we want to do that entirely offline:
- Install the latest version,
0.8.0as of this writing.
Boot Persistence
We’ll use systemd to have containers perist across reboots per the docker docs. Start by pulling down all the containers:
docker-compose -f cht-docker-compose-local-host.yml down
docker-compose -f pi-hole-docker-compose.yml down
Now proceed to create the two services below.
Pi-hole
-
Create a file
/etc/systemd/system/pihole-docker.servicewith the contents:[Unit] Description=Start Pi-hole in Docker Requires=docker.service After=docker.service [Service] Type=oneshot RemainAfterExit=yes WorkingDirectory=/root/ ExecStart=/usr/local/bin/docker-compose -f pi-hole-docker-compose.yml up --detach ExecStop=/usr/local/bin/docker-compose -f pi-hole-docker-compose.yml down TimeoutStartSec=0 [Install] WantedBy=multi-user.target -
Reload
systemdwithsystemctl daemon-reloadand enable and start the service withsystemctl enable --now pihole-docker -
Ensure the service started by checking the status
systemctl status pihole-docker
CHT
-
Create a file
/etc/systemd/system/cht-docker.servicewith the contents:[Unit] Description=Start CHT in Docker Requires=docker.service After=docker.service [Service] Type=oneshot RemainAfterExit=yes WorkingDirectory=/root/ ExecStart=/usr/local/bin/docker-compose -f cht-docker-compose-local-host.yml up --detach ExecStop=/usr/local/bin/docker-compose -f cht-docker-compose-local-host.yml down TimeoutStartSec=0 [Install] WantedBy=multi-user.target -
Reload
systemdwithsystemctl daemon-reloadand enable and start the service withsystemctl enable --now cht-docker -
Ensure the service started by checking the status
systemctl status cht-docker
Test
Reboot the bare metal computer and ensure all service restart successfully.
Connecting devices
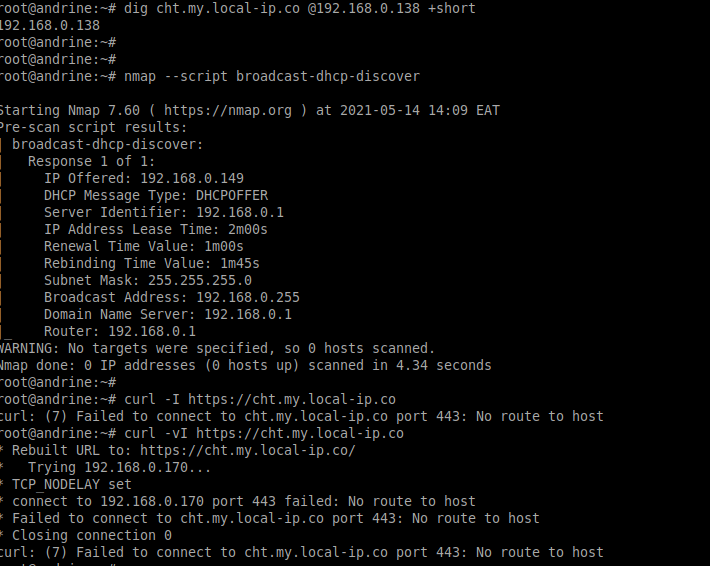
Now that your CHT instance is available via DNS, DHCP and TLS, any device on the network can connect to it with out Internet. Disconnect your LAN so all devices are fully offline with no Internet connection.
Android
-
Connect to the AP on your LAN
-
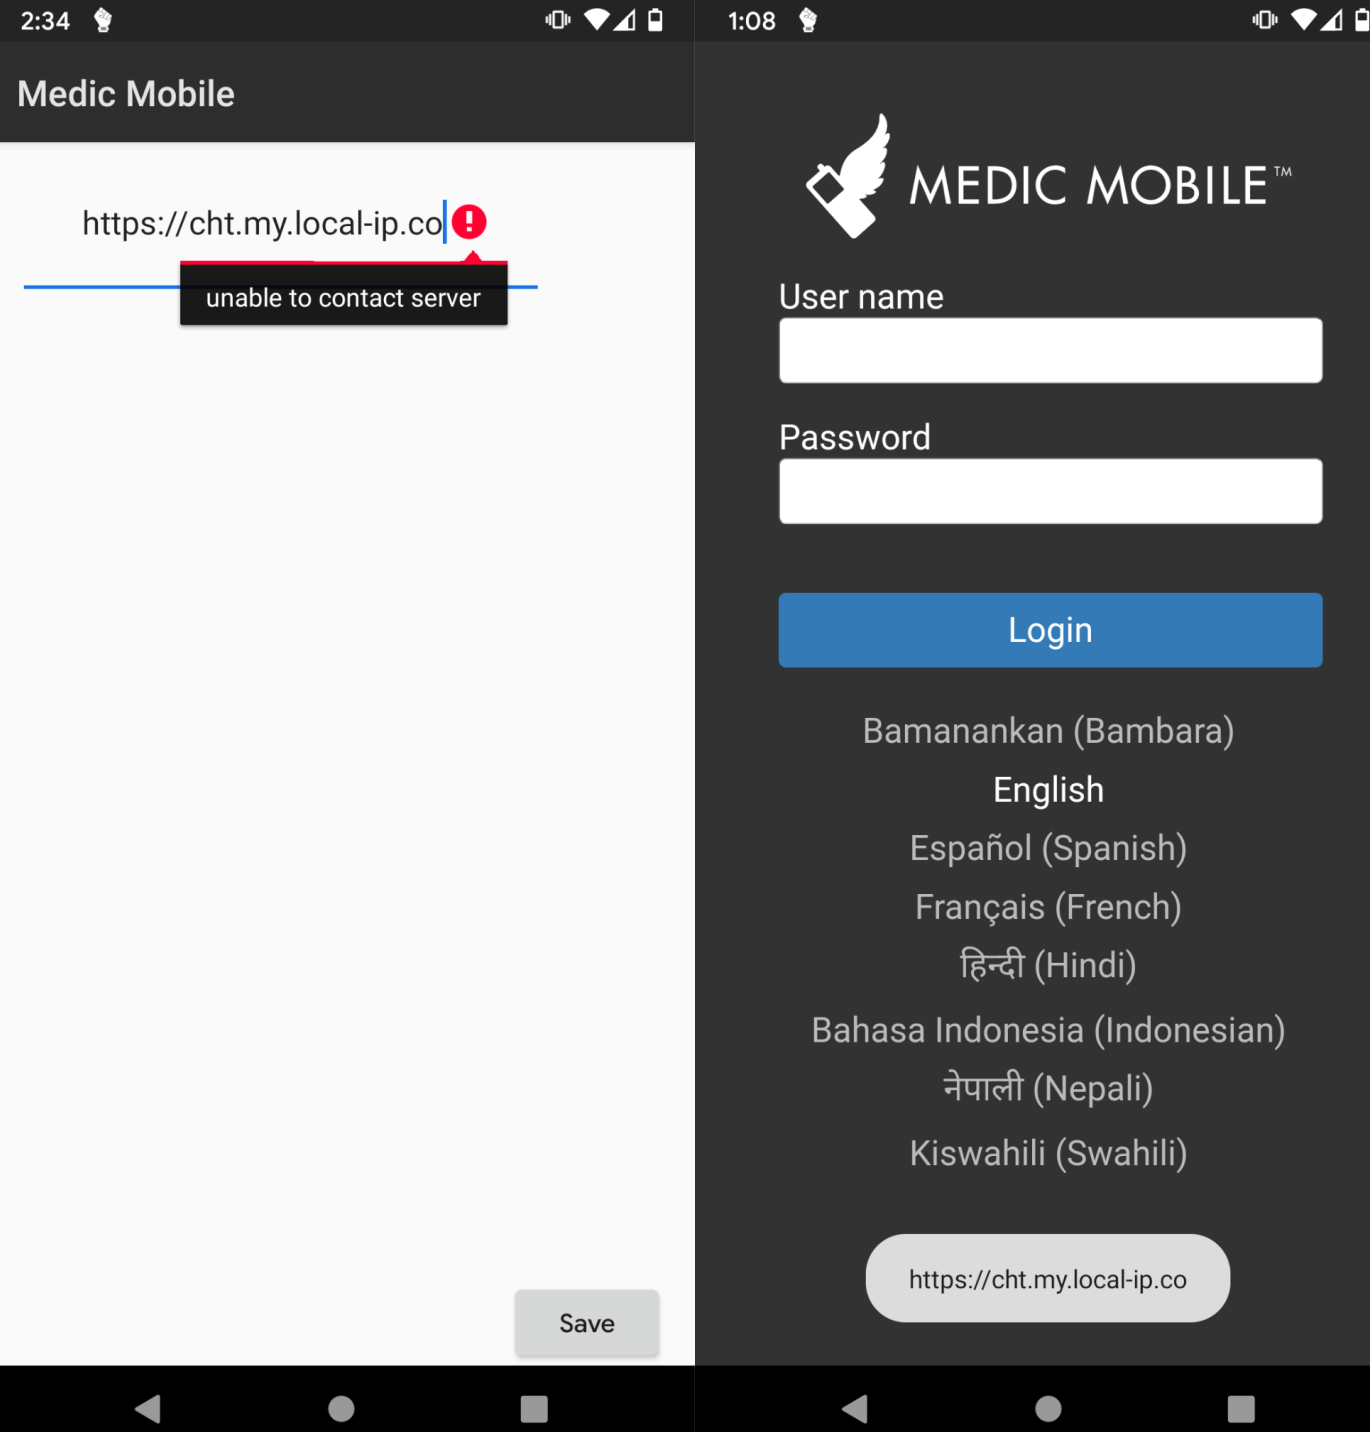
After installing launching the APK, choose “Custom” for which CHT instance to use
-
Enter
https://cht.my.local-ip.co
Note: Some configurations of Android may not like being connected to an AP with no Internet access.
Desktop Browsers
-
Connect to the AP on your LAN or via Ethernet
-
In a browser, go to https://cht.my.local-ip.co.
Note: The CHT does not support the Safari browser on macOS
Summary
If you run docker ps on your server, you should see 3 containers running:
CONTAINER ID   IMAGE                                 COMMAND                  CREATED         STATUS                   PORTS     NAMES
cbc032b8f5c1   pihole/pihole:latest                  "/s6-init"               3 minutes ago   Up 3 minutes (healthy)             pihole
4c600ddcc4c6   medicmobile/medic-os:cht-3.9.0-rc.2   "/bin/bash -l /boot/…"   6 hours ago     Up 6 hours                         medic-os
a69d06736cbb   medicmobile/haproxy:rc-1.17           "/entrypoint.sh -f /…"   6 hours ago     Up 6 hours                         haproxy
Your server should have a static IP of 192.168.8.2 with two DNS entries pointing to it of dns.my.local-ip.co and cht.my.local-ip.co.
The following ports are accessible externally on the server:
8081-httpport for Pi-hole, redirects to https on84438443-httpsport for Pi-hole web admin GUI80-httpport for CHT, redirects to https on443443-httpsport for CHT application GUI
Additionally, the original ports for CHT are exposed, which presents a security issue and likely should be protected by a firewall like ufw but are handy to use for debugging the CHT:
5988-httpport for CHT application GUI5984-httpport for CouchDB’s Fauxton admin GUI
Best of all, all services like DNS and DHCP, are running locally, so the server can be run entirely offline.
Please feel free to ask any questions on this write-up!